Previous
Next
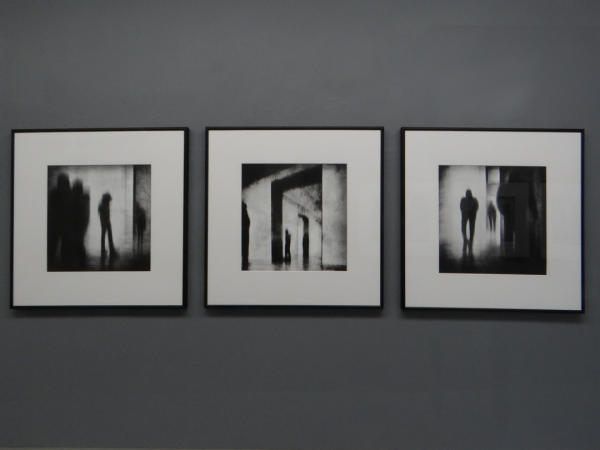
Soho Photo Gallery Installation Photo #3
 Next
Next